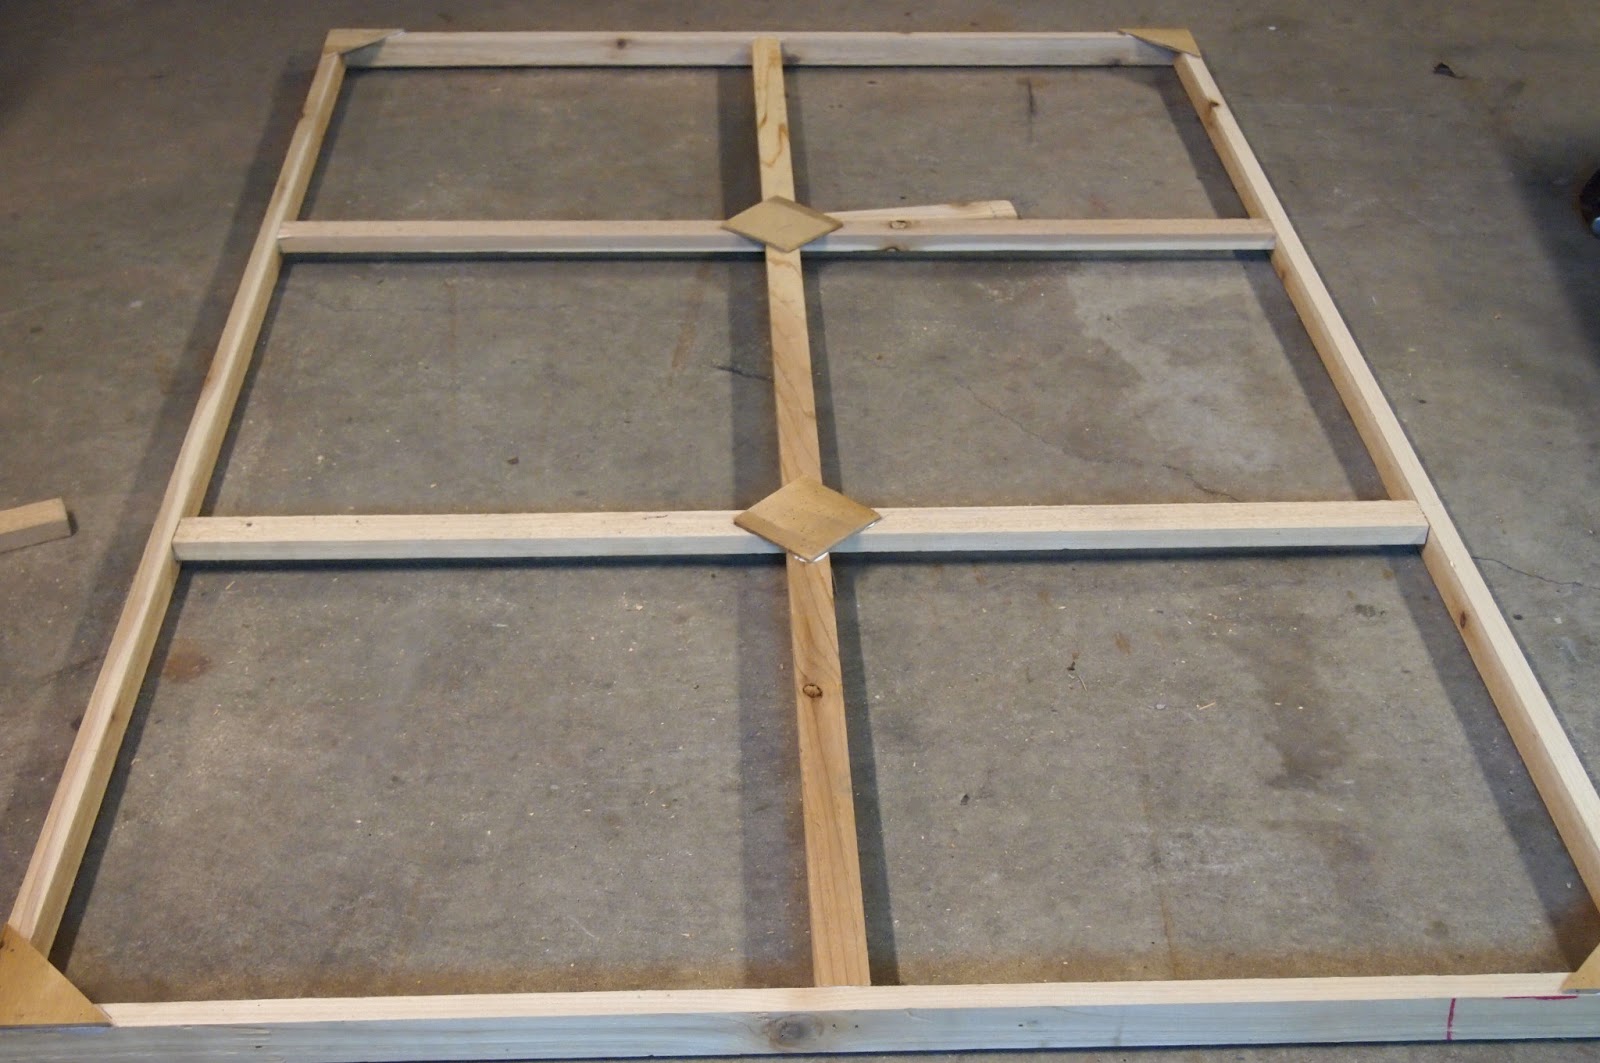
Get a few shorter finishing nails, and nail together the braces. We could not use the nail gun, because the nails were too long.
37. Cut squares
Now it is time to cut the supports that go on the corners and center braces. These ensure a square frame.
The squares are made of Masonite, which is a strong wood that also doesn't warp. We cut out 4" squares - but could go up to 6" if needed.
Remember, wear safety glasses and focus on keeping the edge flush with the fence.
The squares are made of Masonite, which is a strong wood that also doesn't warp. We cut out 4" squares - but could go up to 6" if needed.
Remember, wear safety glasses and focus on keeping the edge flush with the fence.
38. Cut triangles
Now take two of the squares you just cut, and cut them in half (from corner to corner). Here we are just eyeballing the line and not using the fence or the T-bar to make the cut.
39. FLIP FRAME and mark/glue supports
********FLIP FRAME**********!!!!!!!!!!!!!!!!!!********FLIP FRAME**************!!!!!!!!!!!!!
Remember, we want the planed edge to be on the side we stretch the canvas over, plus we will need some space between the canvas and the braces - so it is time to flip the frame over and attach the supports onto the BACK of the frame.
The squares go over the brace intersections - with the corners set in the center of the boards. Place them and then trace their outline.
Once traced, add a dab of glue INSIDE the outline. Don't put glue along the edge - as it will seep out and make a mess.
Remember, we want the planed edge to be on the side we stretch the canvas over, plus we will need some space between the canvas and the braces - so it is time to flip the frame over and attach the supports onto the BACK of the frame.
The squares go over the brace intersections - with the corners set in the center of the boards. Place them and then trace their outline.
Once traced, add a dab of glue INSIDE the outline. Don't put glue along the edge - as it will seep out and make a mess.
40. Nail center supports
We switched into a smaller nail gun, but you can just use your hammer and shorter nails to attach supports. Notice the arrow in the photo above. It is pointing at a spare board that I placed under the area that I am nailing down. This board gives me something to push into.
42. The end product!
Finished!
Now just let the glue dry and soon you'll be ready to stretch the canvas around your new frame.
43. Clean!
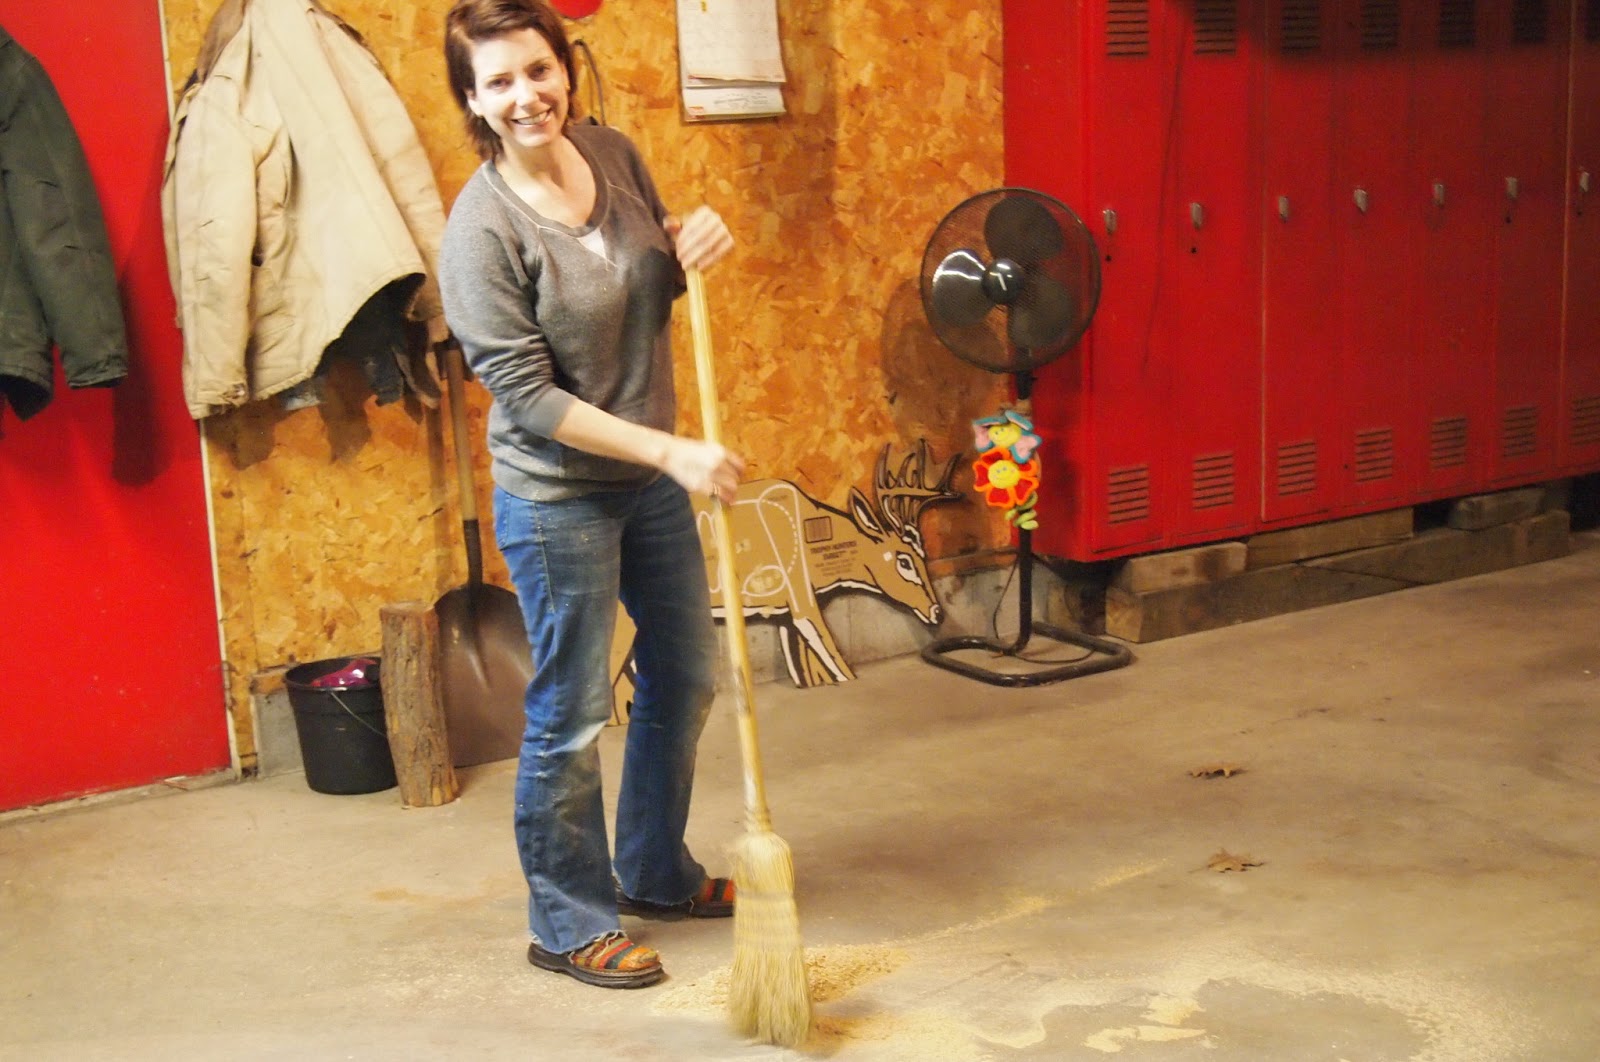
ALWAYS clean up your mess!
Put your tools away, wind up the cords nicely and sweep up the sawdust and other scraps.
Did you OPEN the compressor valve (see post #13)? Open it all the way - the noise is loud, but it will calm down.
Put your tools away, wind up the cords nicely and sweep up the sawdust and other scraps.
Did you OPEN the compressor valve (see post #13)? Open it all the way - the noise is loud, but it will calm down.
Subscribe to:
Posts (Atom)